The Complete Beginner's Guide to Dot Painting
If you have never tried dot painting before, this guide covers everything you need to know before you start. What is actually in your kit, what your first session will feel like, the one technique tip that makes the biggest difference, and how to choose the right design for your first attempt.
What dot painting actually is
Dot painting is simpler than it sounds. Your canvas arrives pre-printed with thousands of small circles, each printed as a clear placement guide. Your job is to fill each circle with your chosen marker colour. Dot by dot, circle by circle, the image builds up.
You do not need to draw, sketch, or make any creative decisions about colour or composition. The canvas does all of that. You provide the time, the focus, and the patience.
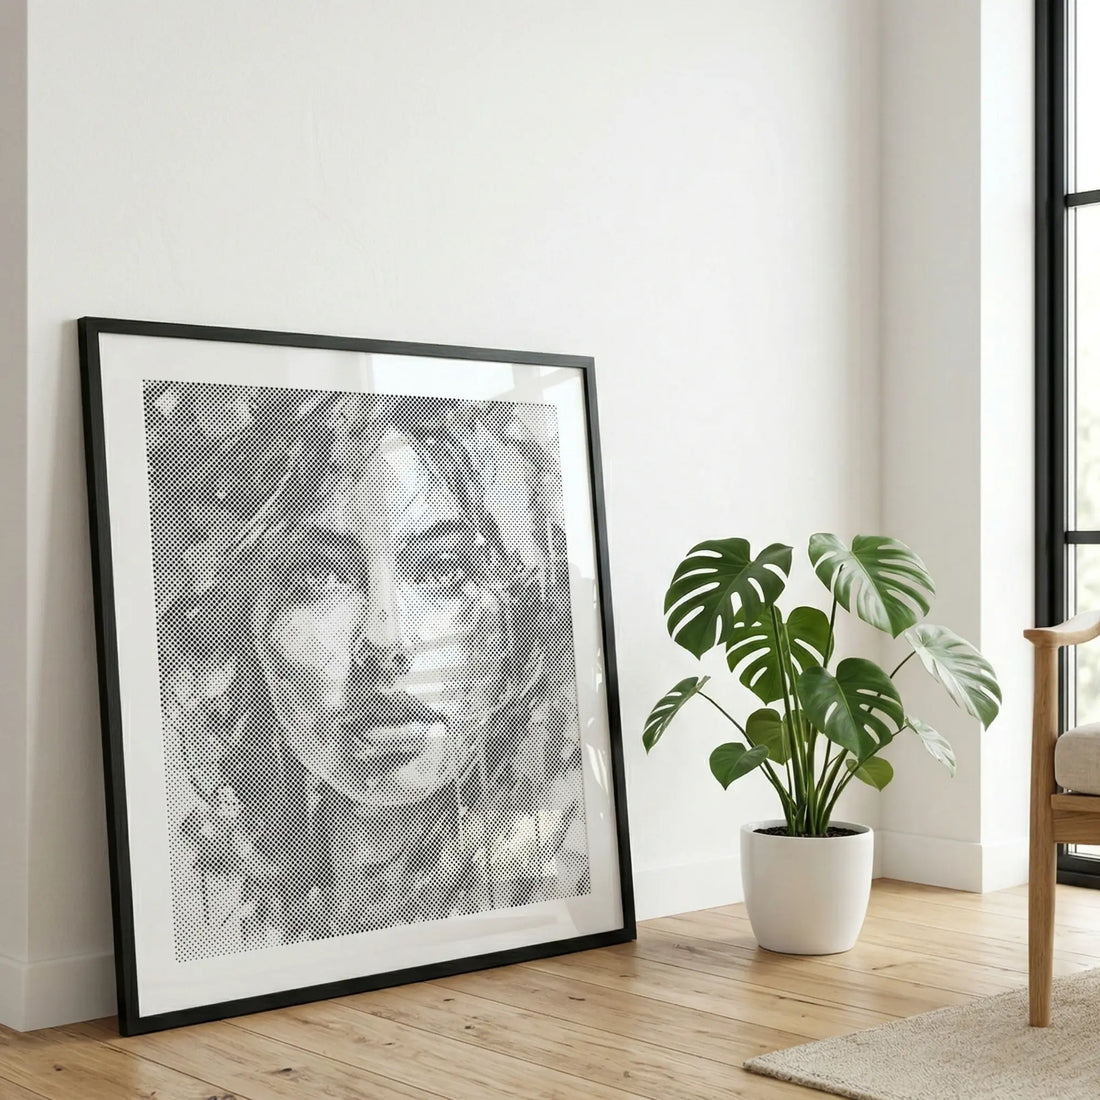
The effect is genuinely surprising. Up close, a completed section looks like rows of dots in your chosen colour. From three feet away, it looks like a detailed painting. This is the same optical principle used by nineteenth-century pointillist artists: the human eye blends dots into continuous colour and form when they are viewed at a normal distance.
What comes in your kit
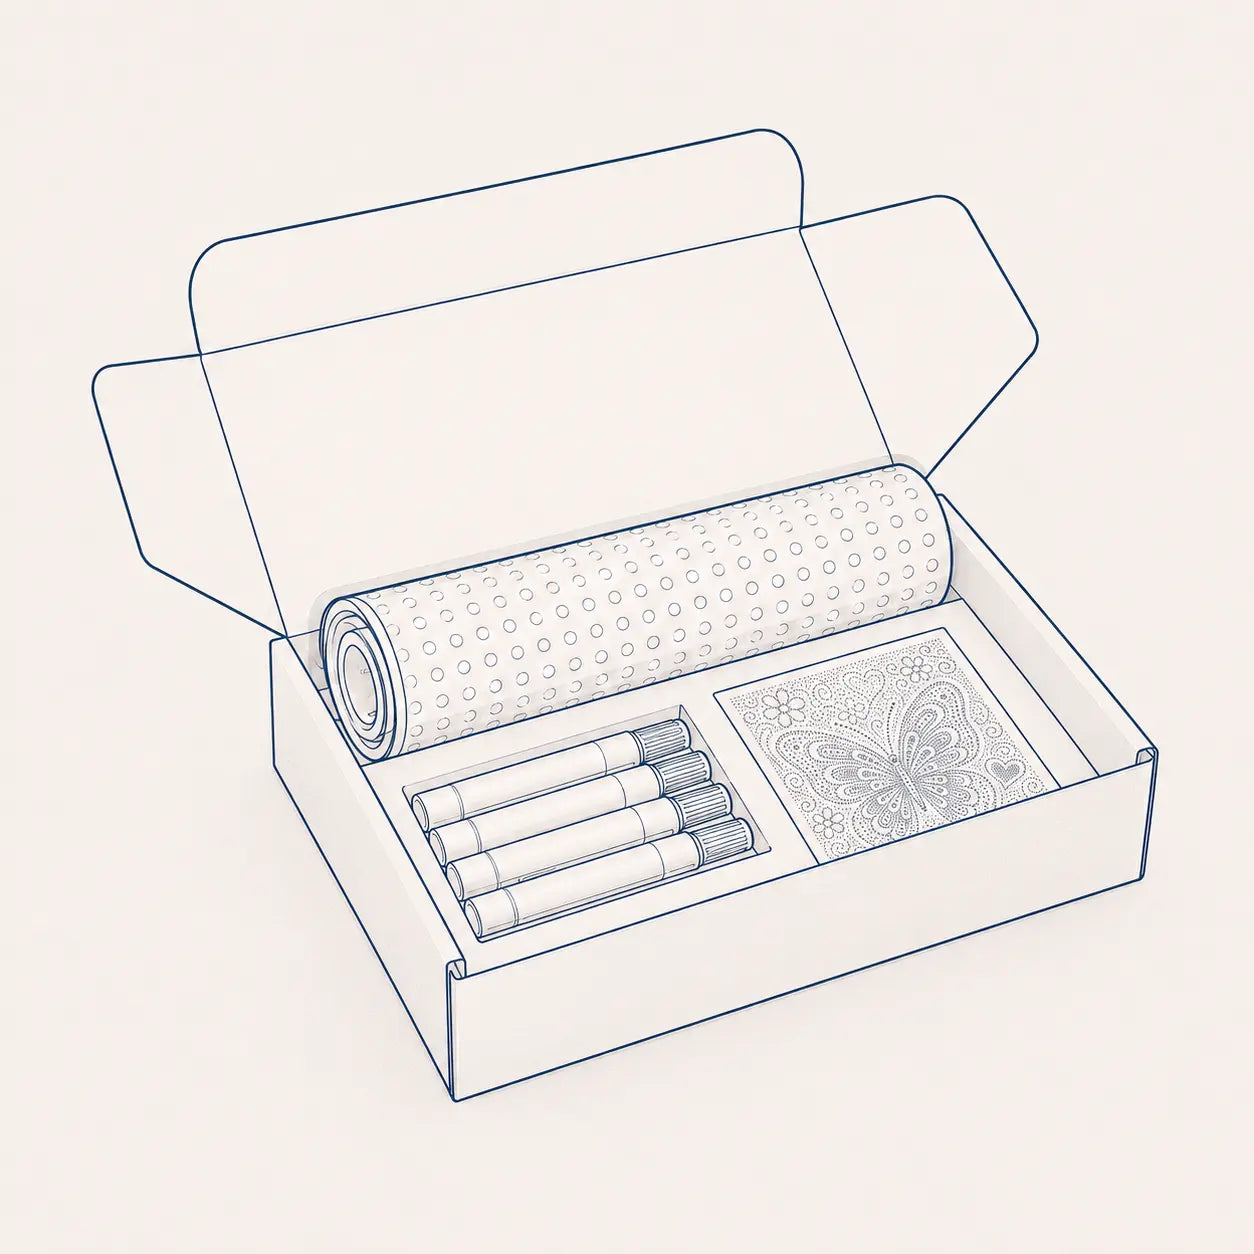
• Pre-printed canvas — The circle guides are printed directly on the canvas in a light ink. As you fill each circle, the guide marks disappear beneath the dot colour.
• Dual-tip markers — One thick tip (1.0mm) for large circles, one fine tip (0.5mm) for small detail circles. Each kit includes the acrylic marker in the colour you choose. You will not need to buy extra pens to get started.
• Quick-start guide — A short printed instruction sheet covering the basics.
Nothing else is needed. No additional art supplies, no prep work, no experience.
Setting up for your first session
The single most common beginner mistake is working in poor light. If you cannot clearly see the printed circles printed on the canvas, the session becomes unnecessarily frustrating. Use daylight or position a bright desk lamp so it falls across the canvas without creating shadows. This alone makes a significant difference to how easy the process feels.
Other than good lighting: a flat table, a comfortable chair, and thirty uninterrupted minutes. That is genuinely all you need.
Your first ten minutes
Choose a corner of the canvas and start there. Work from one edge across, moving in diagonal lines so your hand always moves across completed dots rather than resting on fresh ink.
For the first few minutes you will be concentrating on the process itself: following the printed circle guides, choosing the right tip, building a rhythm. This is normal and passes quickly. By minute ten, most people find the actions become automatic. The conscious focus shifts from technique to watching the image form.
The one tip that makes the biggest difference
Match the marker tip to the circle size, every single time.
Your marker has two ends. The thick 1.0mm tip fills large circles cleanly in one press. The fine 0.5mm tip handles small detail circles precisely without spreading into neighbouring areas. Using the thick tip on a small circle forces too much ink into a tight space and the colour bleeds. Using the fine tip on a large circle means multiple presses and uneven coverage.
Experienced dot painters do this automatically. Beginners who learn it early find the whole process feels significantly cleaner and more satisfying.
What to do when the ink looks uneven
Dot painting looks best from a normal viewing distance, not under close inspection. A dot that looks slightly uneven from six inches almost always looks completely fine from three feet. Resist the urge to go back over dots repeatedly. One deliberate press, then move on.
If a marker tip seems dry and produces faint or patchy ink, scribble on a piece of scrap paper for a few seconds. The ink just needs a moment to flow to the tip. The marker is not empty.
How to correct a mistake
You must be fast. If you color incorrectly wipe it away with a damp cotton bud before it dries, let the spot dry for a minute, then re-apply correctly.
From normal viewing distance the correction is invisible.
Choosing your first design
For your first kit, choose something with bold, clear areas rather than fine portrait detail. Animal designs and floral patterns work well as a first attempt because the larger areas of repeated dot placement let you build confidence and rhythm before dealing with intricate detail.
Portrait kits and highly detailed landscape kits are deeply satisfying. Many of our most popular designs are in these categories, but they involve smaller circles and more frequent shifts in dot size and detail, which require a bit more patience and practice. Save those for your second or third kit once the technique feels natural.
If you are buying a kit as a gift for someone who has not tried dot painting before, the same logic applies. An animal or floral design is a safer first choice unless you are confident the person enjoys a detailed challenge.
How long does it take to finish?
A small kit (around 30x40cm) typically takes two to four hours. Most people spread this across one or two evenings rather than completing it in a single sitting. Larger formats take proportionally longer: three to six hours is typical for a medium-large design.
There is no correct pace. Many people deliberately take longer and treat each session as dedicated time away from screens and other demands. The fact that there is a clear endpoint [a finished painting] gives the activity a sense of purpose that open-ended relaxation often lacks.
What your finished painting looks like
The finished result consistently surprises people who have not seen dot painting before. The dots create a subtle three-dimensional texture across the surface that makes the image look distinct from a print or photograph: handmade, detailed, and genuinely artistic.
Completed dot paintings are almost always worth framing. Standard frame sizes (30x40cm, A3, A4) fit the most popular kit formats. Many customers order a frame at the same time as their kit so it is ready the moment they finish.
The custom photo option
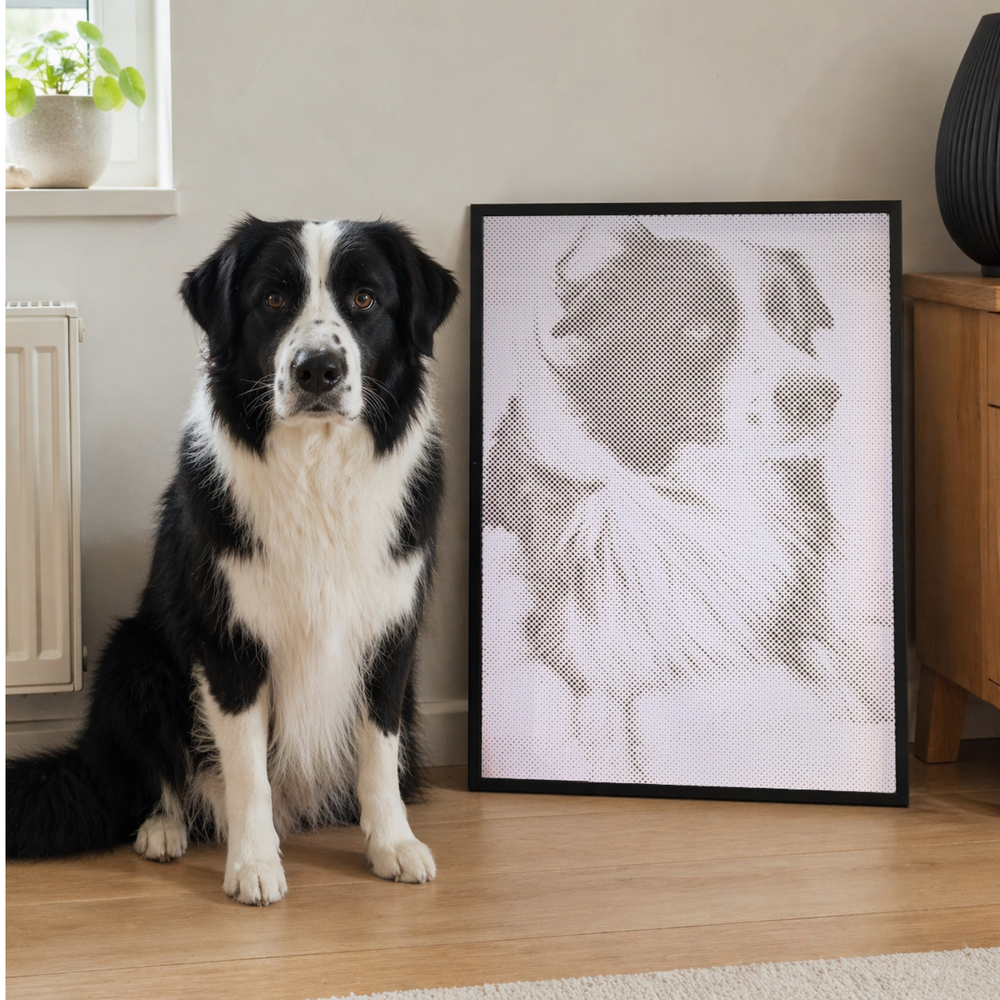
The most popular product in the Paint By Dots range is the Custom Photo Dot Painting. You upload a photograph, a family portrait, a pet, a wedding photo, a place that means something, and a member of our team manually converts it into a dot painting canvas.
This is not automated. Not a filter. A real person reviews each image, adjusts the dot pattern for clarity and detail, and produces a canvas that captures the photograph faithfully. The result is something you create yourself, dot by dot, that no one else has.